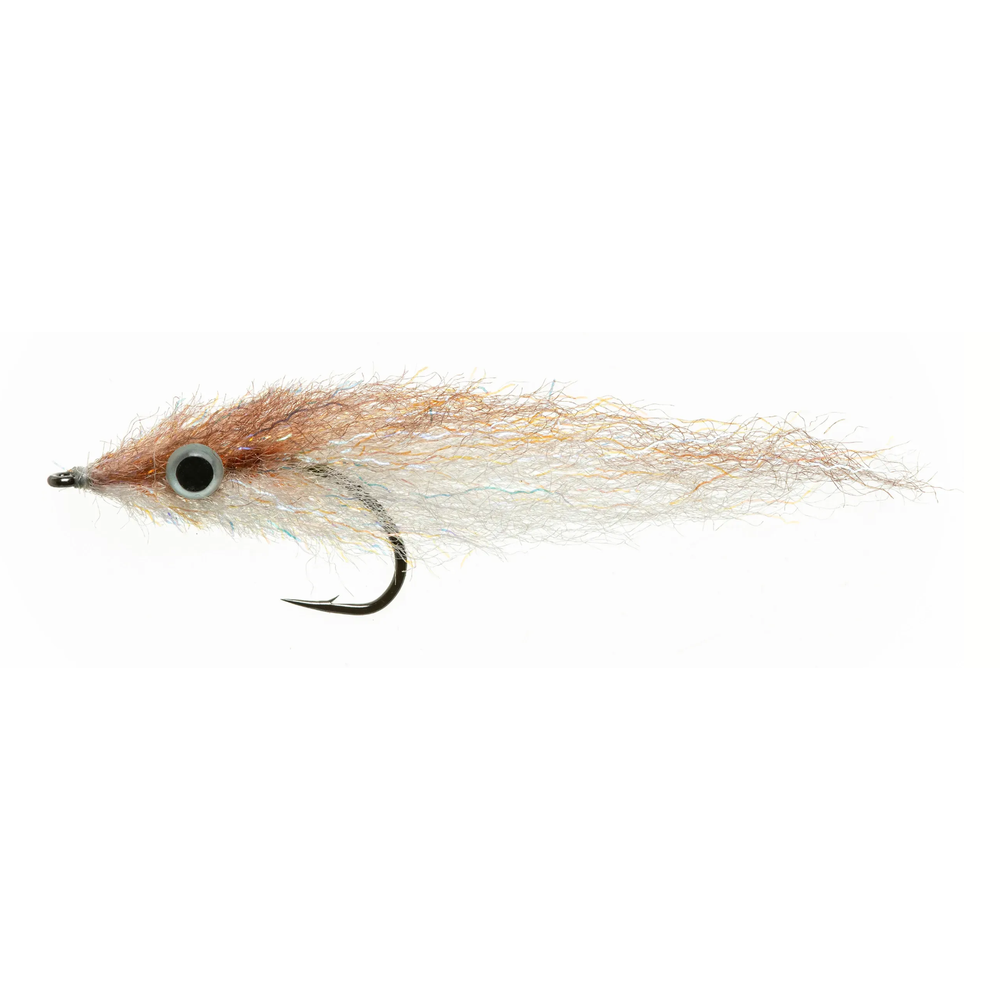
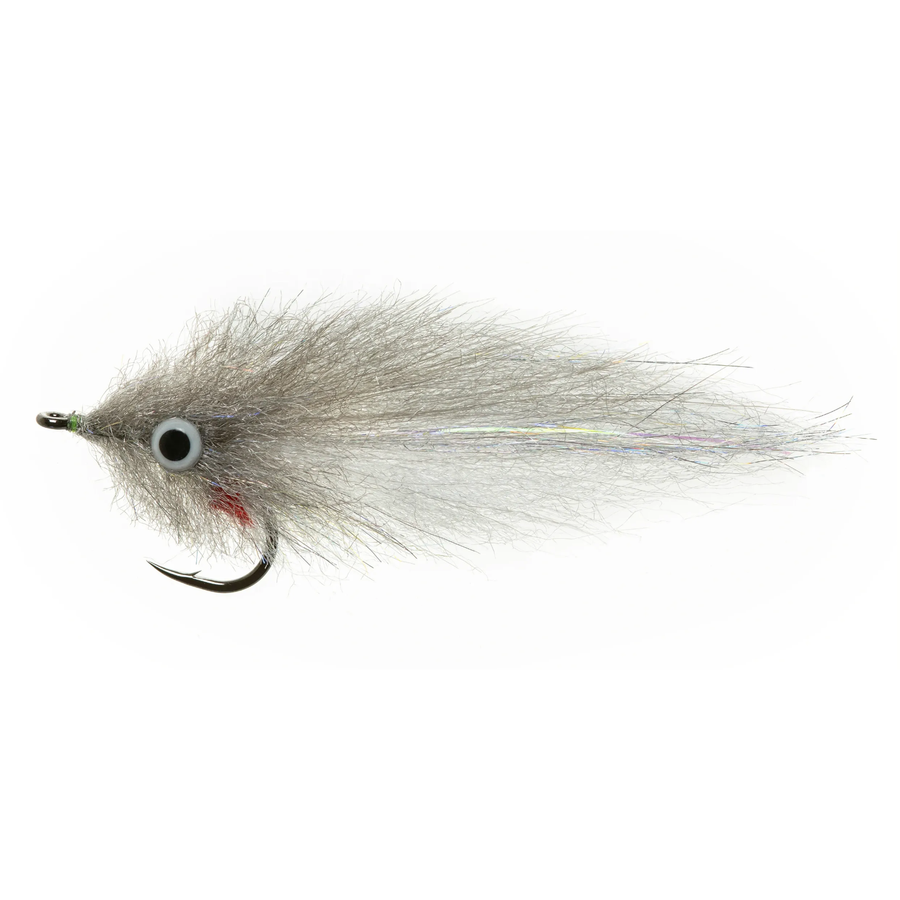
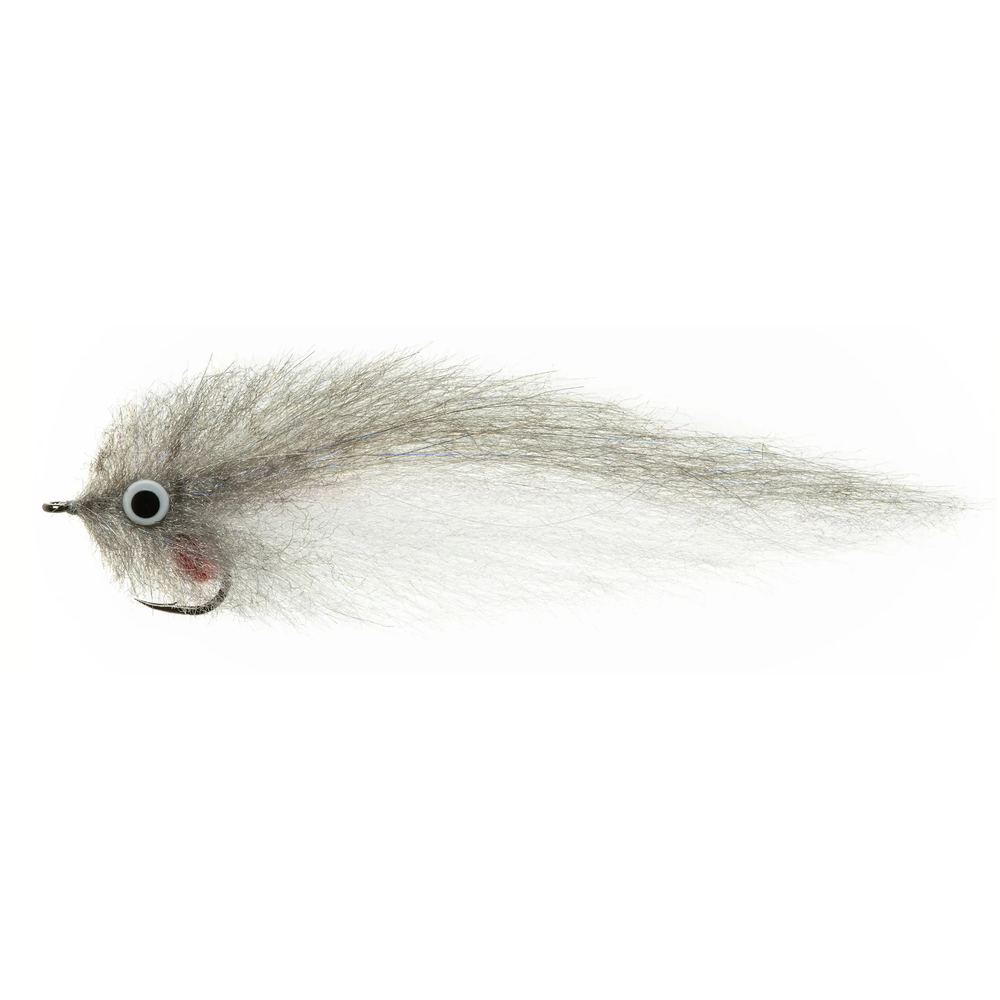
Kit includes:
- 1 pack of orange pseudo hair
- 1 pack of chartreuse pseudo hair
- 1 pack of chartreuse SF flash blend fibers
- 1 pack of chartreuse lateral scale flash
- 1 pack of green UV stick on eyes 5mm
- 1 spool Danville mono thread
- 1 tube of zap gel
Kit does not include red gills or hooks. We recommend getting a pack of red SF fibers or using an EP minnow head brush. You use so little of this materials for the fly, it did not seem fair to force you to purchase it each time.
Recommended hooks: Gamakatsu SC15 2,1,1/0,2/0 and Allen SW003 size 2, 1. Can also tie on Tiemco 600SP size 2 for baby tarpon.
Step by step instructions:
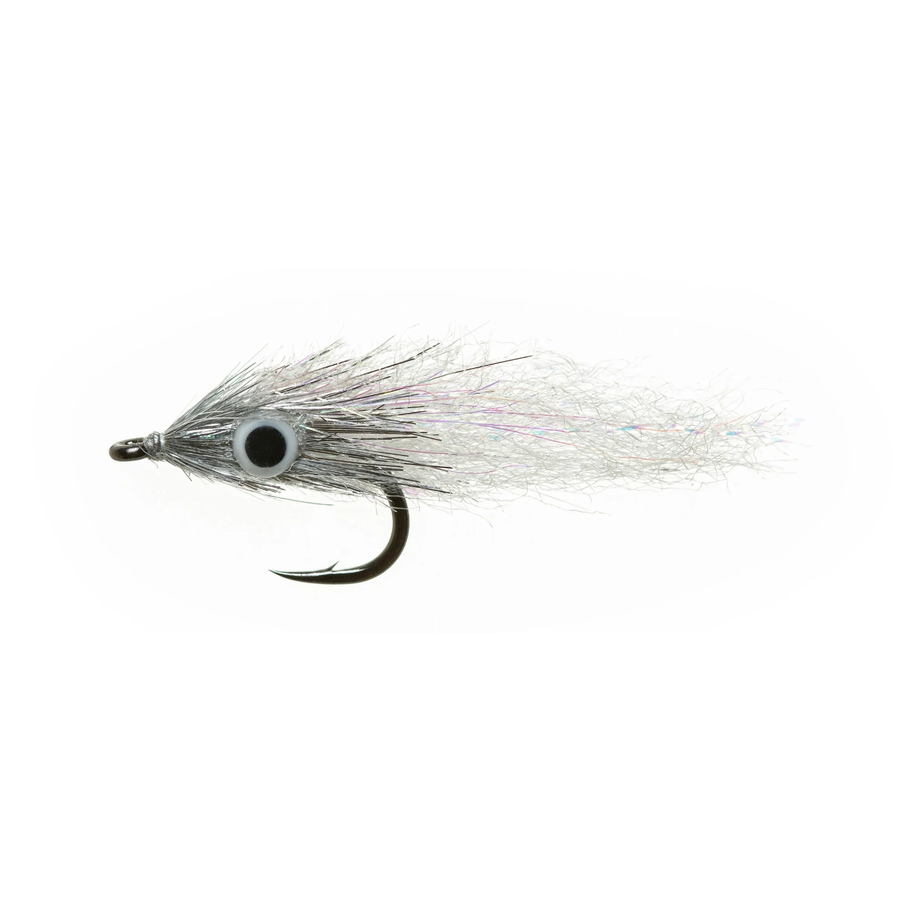
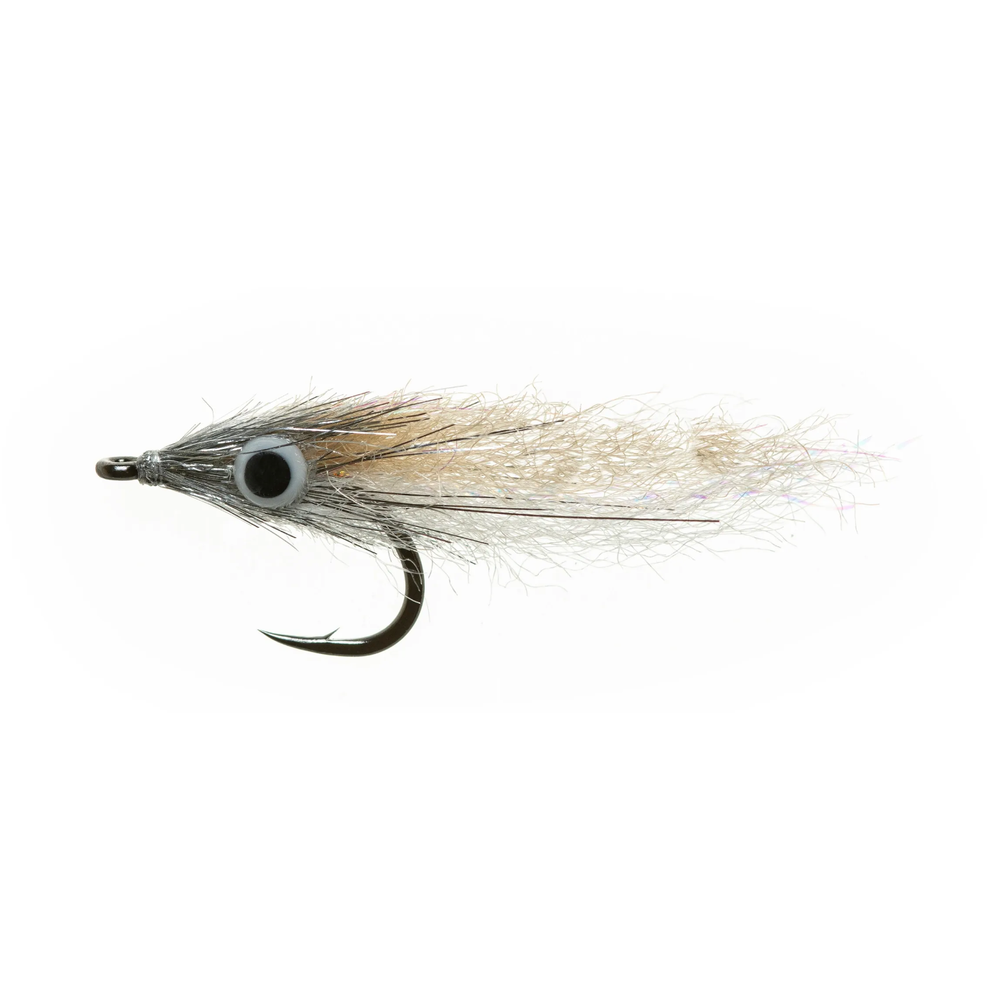
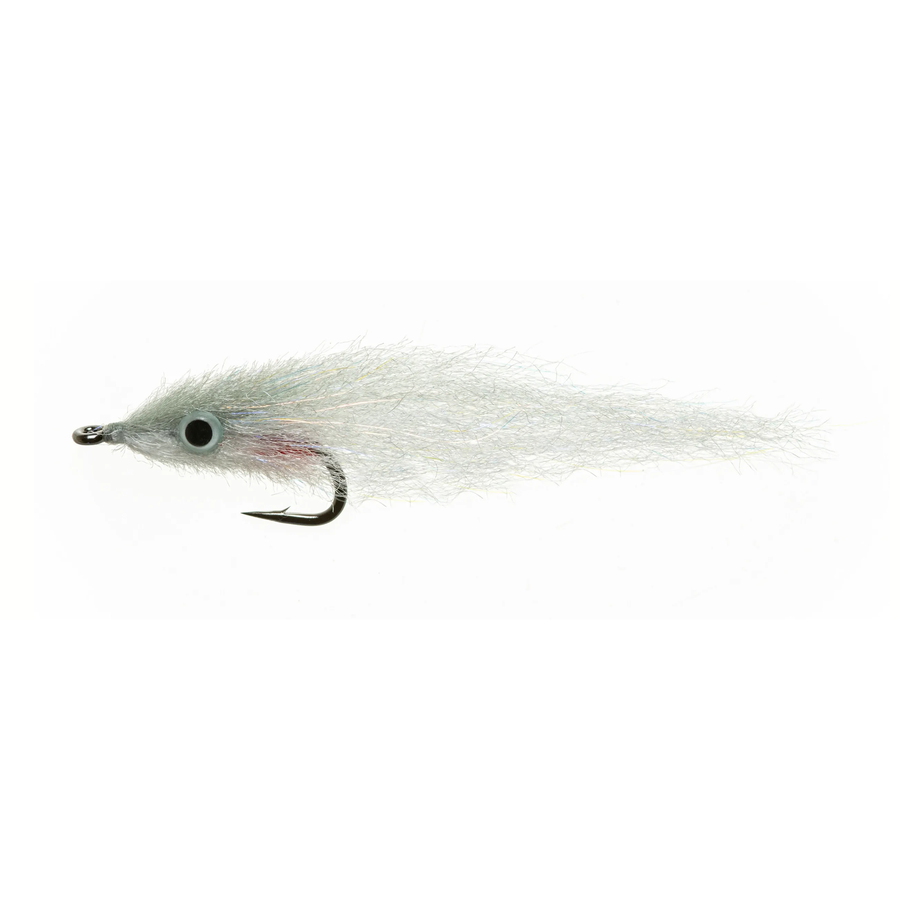
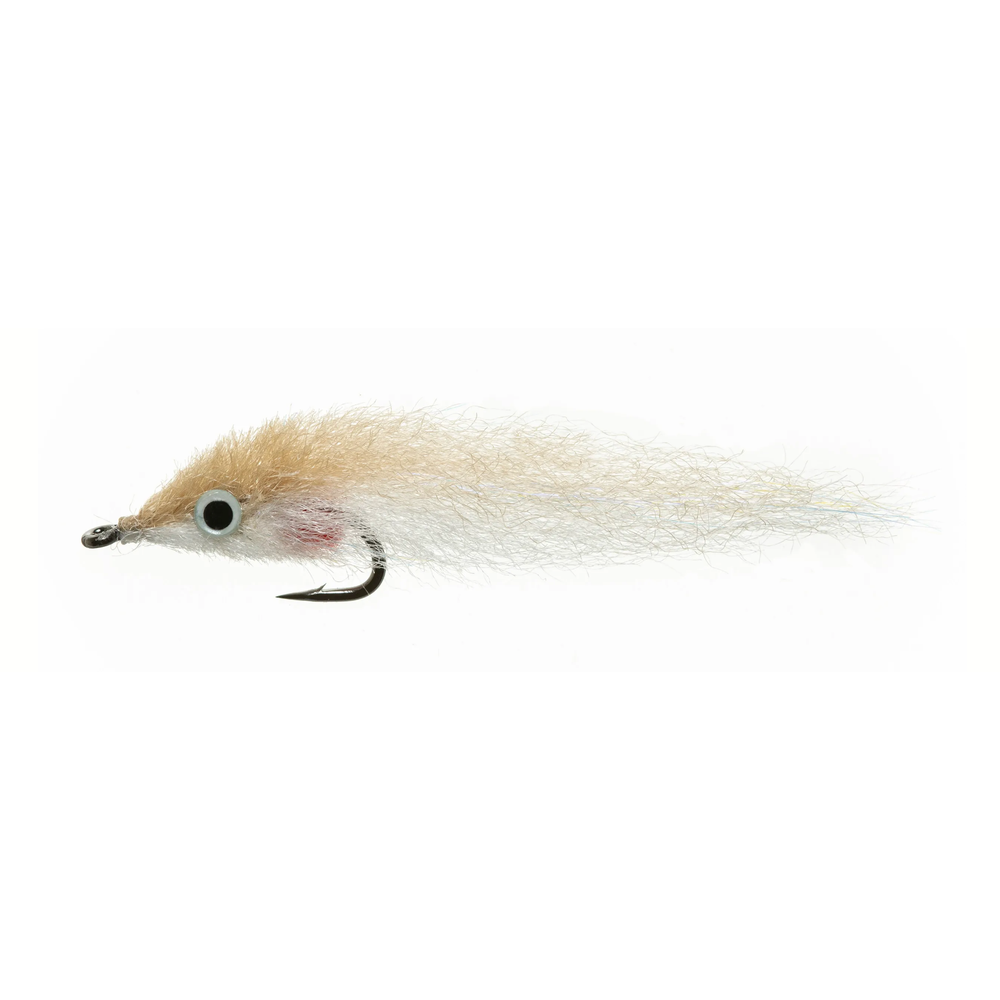
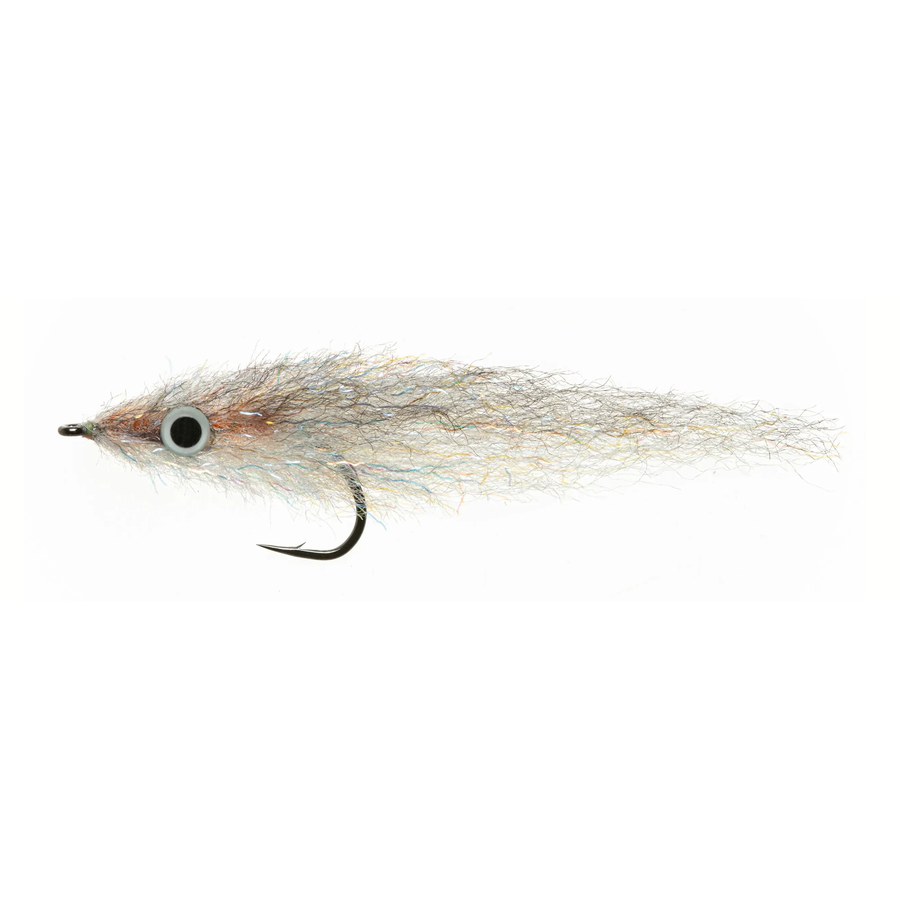
So our shop dad EJ showed me this awesome little pattern he uses on the beach for sight fishing snook. Its really simple and easy tie that only uses a few a materials, so its cheap too! The end result is tiny little morsel of thread fin or greenback that will get eaten anywhere for the beach to your back yard pond. You can play with colors of this pattern and gear towards any predator first that swims.
Step 1: Start by wrapping your thread back on the hook shank to just shy of the hook point. Everything thats going on this hook shank is getting top tied so lets not get too carried away.
Step 2: I’ll use a little bit of an EP minnow head brush for this optional first step. I like to incorporate some bleeding gills on this pattern because I can’t still. You can also use red SF fibers or yarns if you like. Anything short, sparse and red will work. Just .5” out the back.
Step 3: Tie it in.
Step 4: Take a little bunch of SF fibers and double them over, cut in half and taper. You should be left with about 1.5” of nice tapered fibers. The SF fibers are much stiffer than the pseudo hair tied above them. They will act to help keep the softer materials from fowling around the hook shank.
Step 5: Tie it in just in front of the red gills.
Step 6: Trim of the excess on and tie down.
Step 7: Cut about 3 clumps of white pseudo hair off of the patch and lay on the table. Use your pattented (not really) 239 lice brush and comb out the fluff on the side you cut from. Pinch the fibers together and taper in your fingers. You’ll measure these up to be just lower than the SF fibers below them.
Step 8: I like trim it length, then tie them in. This lets me eliminate a lot of space and unwanted thread wraps. Be cool, be clean.
Step 9: You’ll do the same with the olive pseudo hair next. Only you’ll tie in about 10% more, and just a little bit longer.
Step 10: Its super important to trim this bunch before tying down. You’ll also want to take some scissors to the front fibers and trim as tight as possible. Cover up the exposed fibers with some thread, but don’t go too hard.
Step 11: Take a few strands of polar flash and cut them off full lengh.
Step 12: Tie in the polar flash down one side of the fly, bend around the nose thread hump, then down the other side. You’ve added a lateral line.
Step 13: Pull the flash back and trim slightly longer than the polar fiber. Now whip finish your mono thread 2 times and cut it off.
Step 14: Apply an thin candy shell of Loon Uv thin over the tread. Its vital to use a UV resin over the mono thread.
Step 15: Apply zaps!
Step 16: Now put a little zap gel on the end of your bodkin and apply to the back of a 3mm stick on eye. Place the eyes on the pseudo hair near the hook shank. Pray to whoever you pray to that they stay on…
